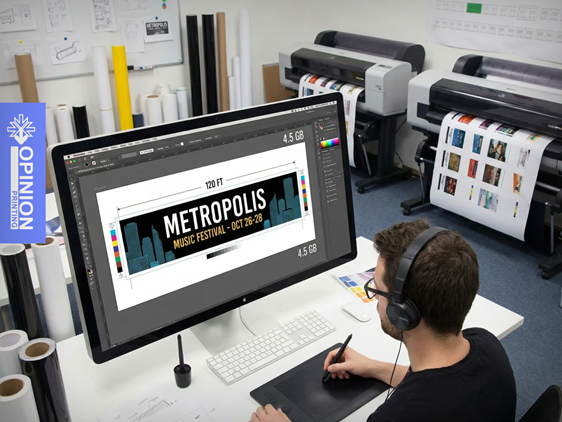
Preparing artwork for large-format printing is different from designing materials intended for standard print. Large formats such as banners, advertising boards, and exhibition systems require a properly prepared graphic file.
Even small oversights-such as low resolution, missing bleed, or the wrong file format-can affect the quality of the final print. That is why it is worth knowing the basic rules for preparing files for production.
Below, we outline the key elements you should check before sending your design to print.
Project Dimensions and Proper Scaling
The first step is to prepare the design at the correct size. In the case of very large formats, designers often work at scale so the file is easier to manage in graphic design software.
The most commonly used scales are:
- 1:1 – artwork prepared at full size
- 1:2 – half of the final size
- 1:4 or 1:10 – for very large surfaces
When working at scale, it is important to adjust the file resolution accordingly to maintain good print quality.
Another essential element is bleed, which is the extra area of the artwork extending beyond the final trim size. In large-format printing, the standard bleed is usually 5-10 mm on each side. This helps prevent unwanted white edges from appearing when the material is trimmed.
It is also worth leaving a safe margin. The most important elements of the design-such as text, logos, and key graphics-should be placed at a suitable distance from the edges to avoid accidental trimming.
Resolution Matched to Viewing Distance
In large-format printing, the resolution does not always need to be very high. What matters most is the distance from which the material will be viewed.
Approximate resolution guidelines:
- 150-300 dpi – for materials viewed up close
- 100-150 dpi – for medium viewing distances
- 72-100 dpi – for large formats viewed from several meters away
Adjusting the resolution to the actual application helps avoid unnecessarily large files that can make the design process more difficult.
As for file formats, the most commonly used are:
- PDF – a universal format preferred by many print shops
- TIFF – excellent quality, especially for large graphics
- EPS – a good choice for projects containing vector elements
Formats such as JPEG or PNG may cause issues with quality or color space, which is why they are used less often in professional print projects.
Colors in the CMYK Color Space
One of the most common mistakes is preparing a design in the RGB color space, which is intended mainly for screens.
Print uses the CMYK color space, so it is best to prepare the file in CMYK from the very beginning. Converting from RGB to CMYK at the end of the process may result in color shifts and differences between the on-screen design and the final print.
In large-format printing, it is also important to monitor total ink coverage (TIC). Excessively high values can cause problems with ink drying or overall print quality.
Text, Lines, and Graphic Elements
Before saving the file, it is worth checking a few technical details:
- convert text to outlines to avoid font issues
- avoid very thin lines, as they may be barely visible in large formats
- make sure all graphic elements are of sufficient quality
This ensures the file will display correctly at every stage of production.
Final File Check
Before sending the project to print, it is a good idea to carry out one final review of the file.
Features such as print preview or soft proofing can be helpful, as they simulate how the design will look once printed. For important projects, it is also worth ordering a digital proof, which allows you to assess the colors and overall visual effect before production begins.
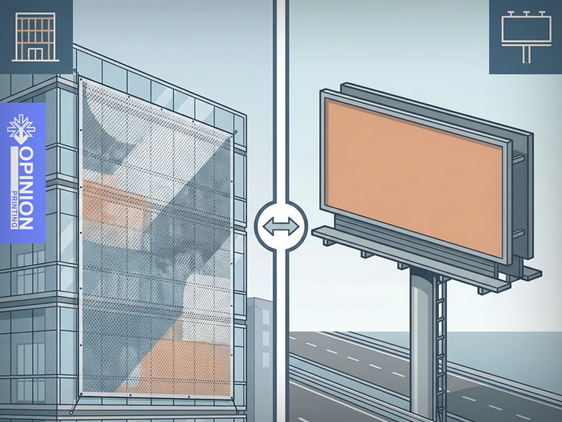
Project Requirements for Different Types of Media
Different large-format materials require a slightly different approach during file preparation.
Banners and mesh banners
A resolution of 72-150 dpi is typically sufficient. It is also important to take into account eyelet placement and possible welded edges, as these may slightly reduce the visible area of the design.
Roll-ups and exhibition systems
The bottom part of the design (approx. 15-20 cm) is usually hidden inside the cassette, so no important elements should be placed there. The top section also requires extra allowance for mounting the graphic.
Self-adhesive films
If the design is to be printed on transparent film, the areas requiring white underprint should be clearly marked. For non-standard shapes, a separate cut line file is also needed.
The Most Common File Preparation Mistakes
The most common problems include:
- graphic resolution that is too low
- missing bleed
- elements placed too close to the edges
- files prepared in RGB
- text not converted to outlines
- lines that are too thin
- an incorrect file format
Avoiding these mistakes can significantly speed up the production process and reduce the risk of revisions.
If you have any doubts about how to prepare a file for large-format printing, it is worth consulting the print shop before production begins. The Oprint.one team will be happy to advise you on how to prepare your materials so the final result meets your expectations.